Instructions to Setup BNI Macbook
When you receive your Macbook, go ahead and power it on. Select your Country or Region and click Continue.

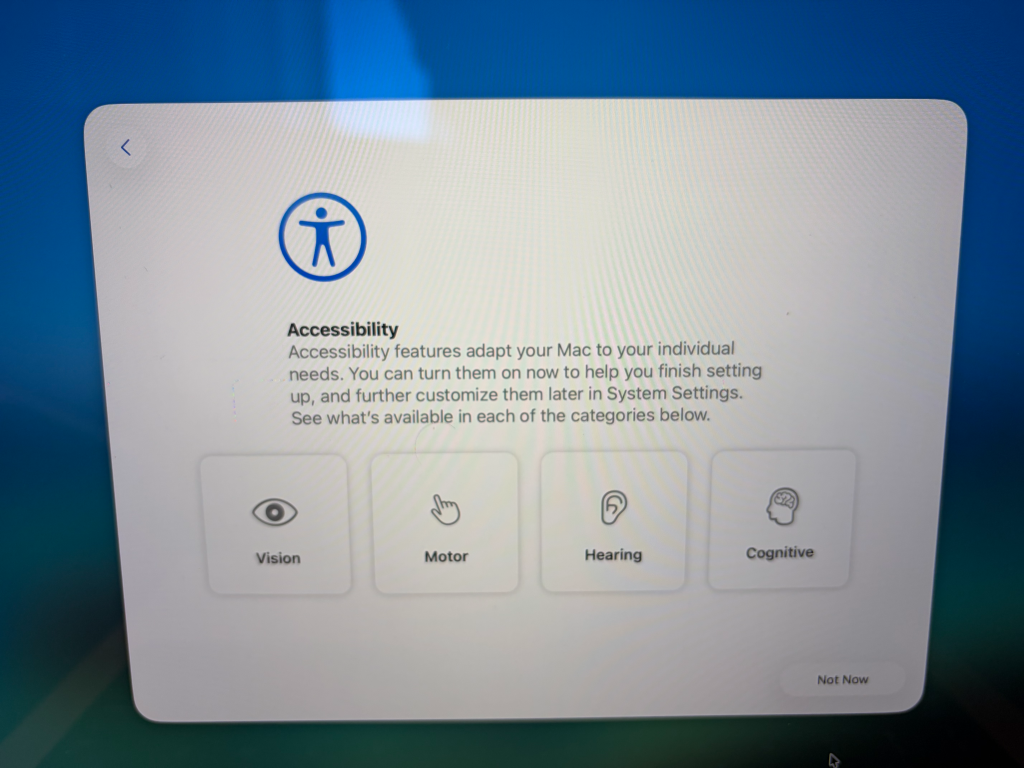
If you have an accessibility, go ahead and set it up. If you don’t have a need for Accessibility, click on Not Now.
Select your Wi-Fi network and connect to it

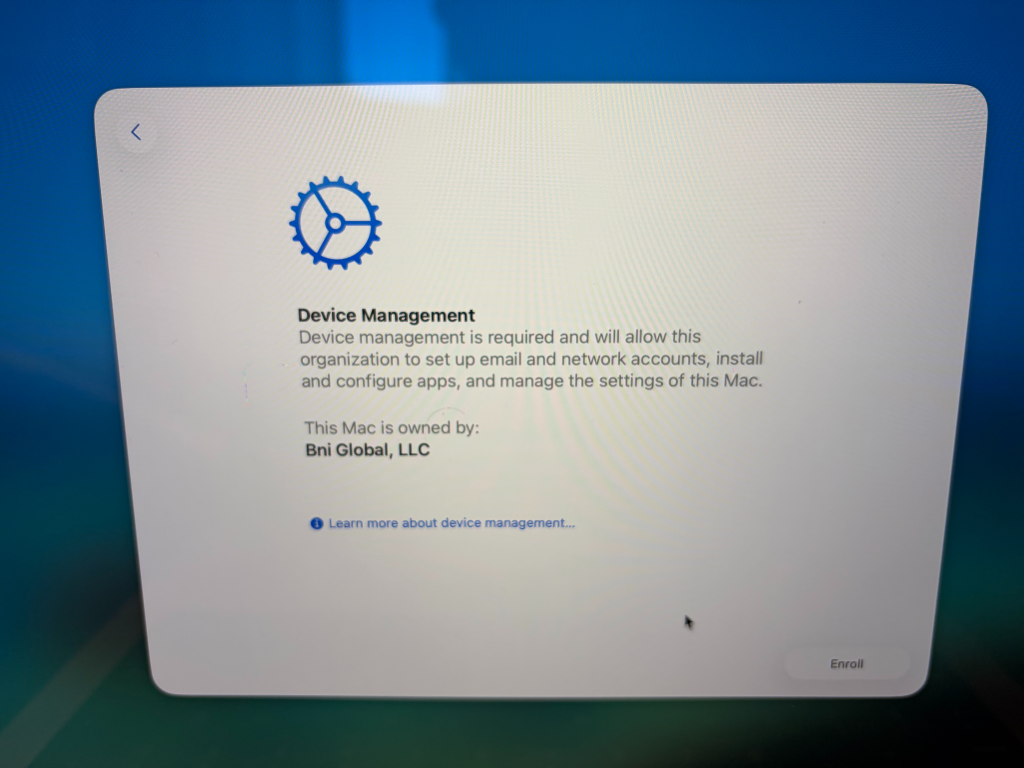
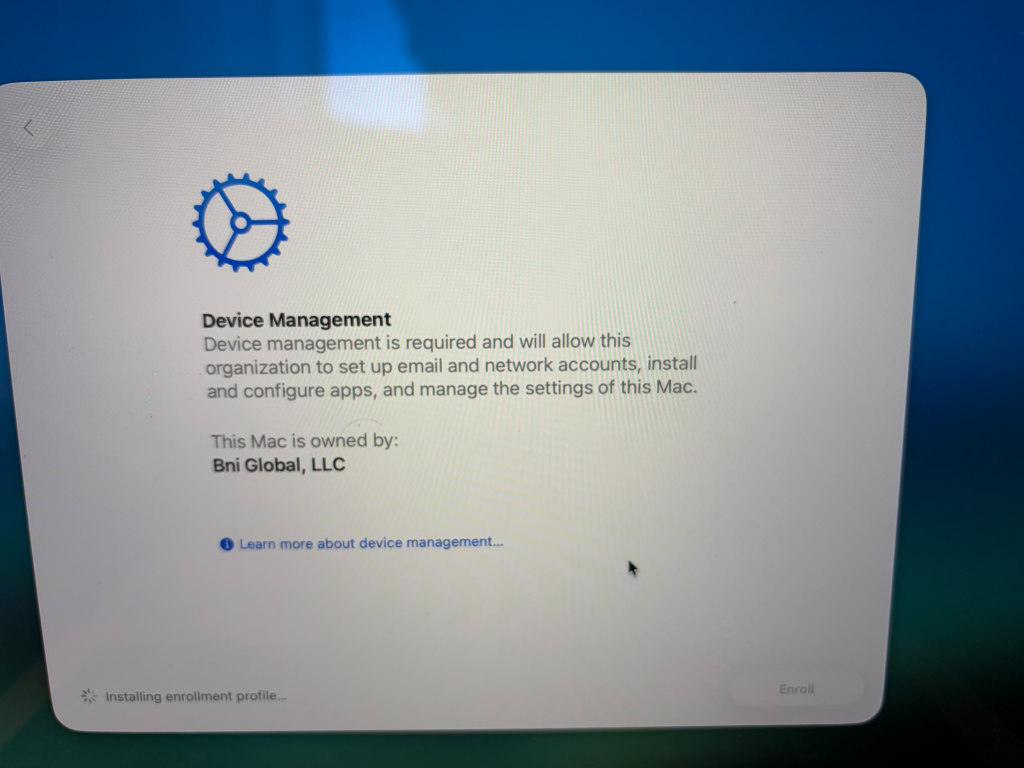
You’ll receive a message that the Macbook is under device management. Click on Enroll
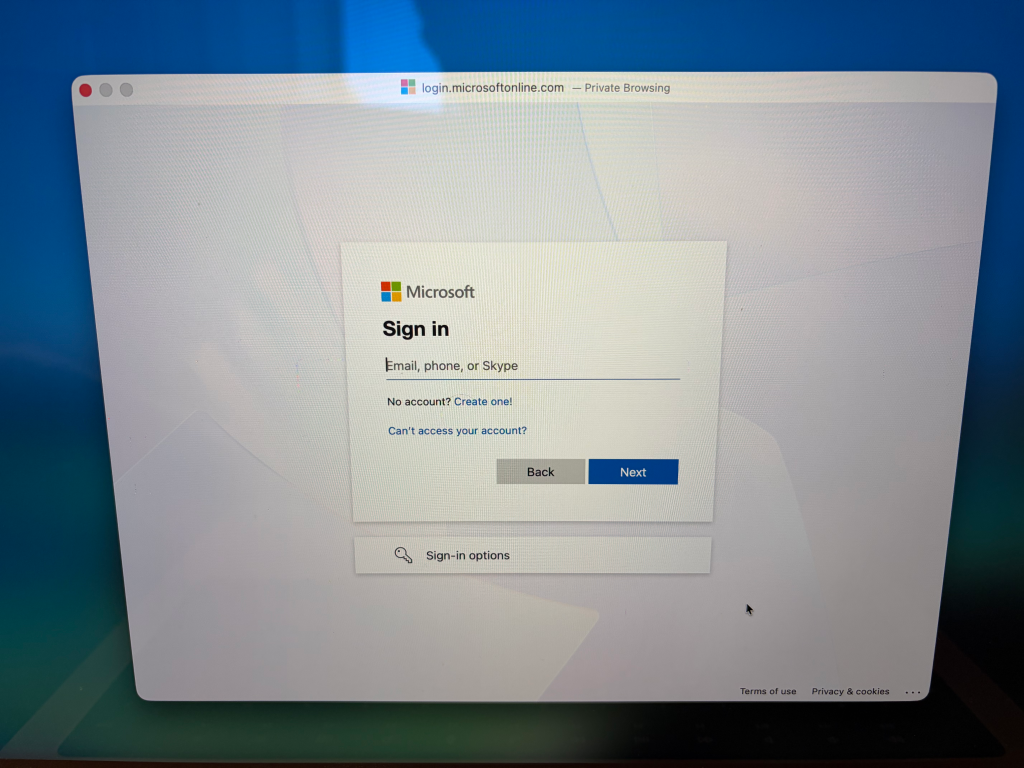
A window will pop up to enter your BNI email. If you are a new employee, you’ll receive your company email address as well as the password in the email that was sent to you from itservicedesk@bni.com. Once you entered your email, click next.
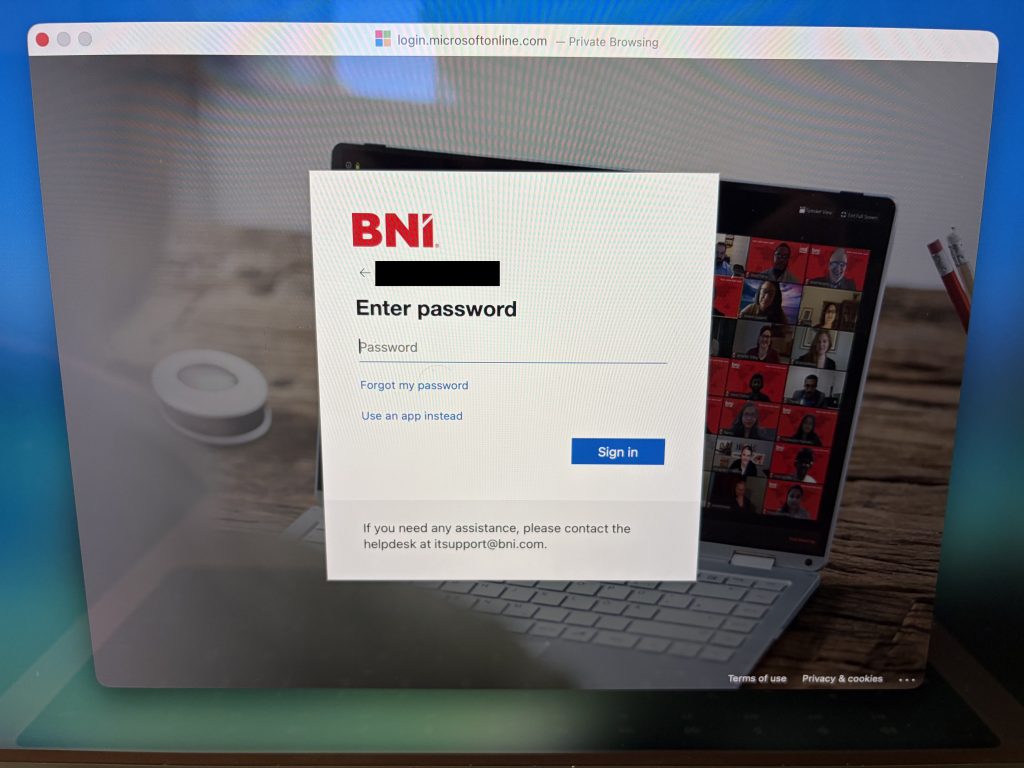
Enter your password.
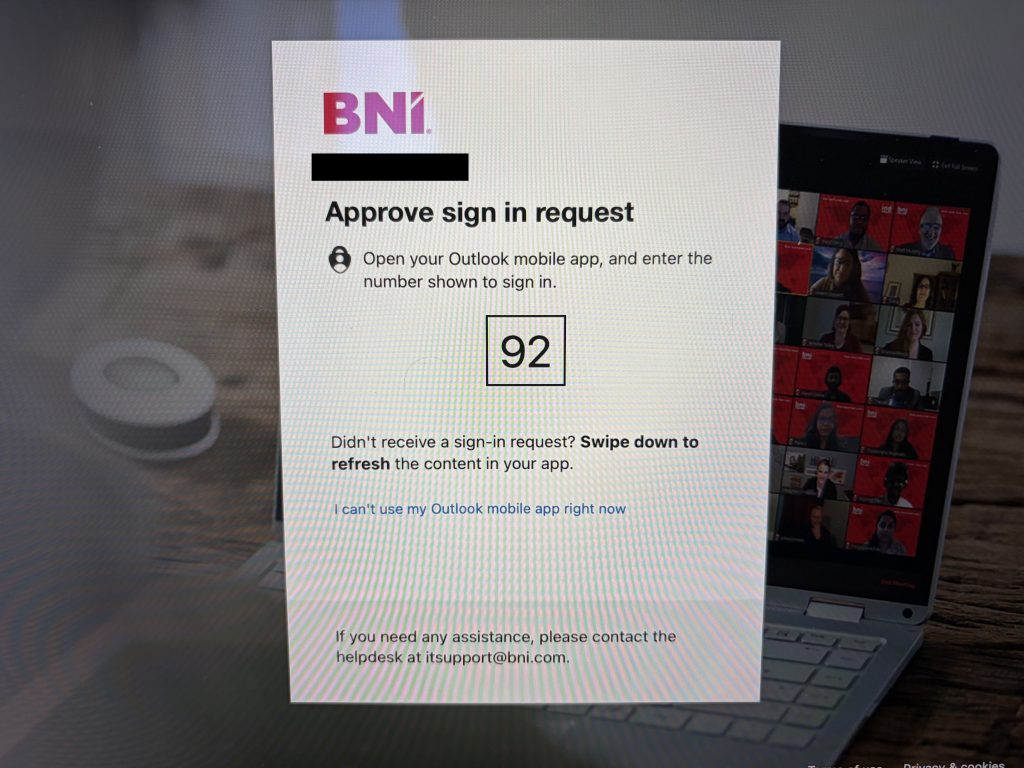
Approve the authentication request
This next part will take about 5 minutes. It is downloading and installing configurations from the server.
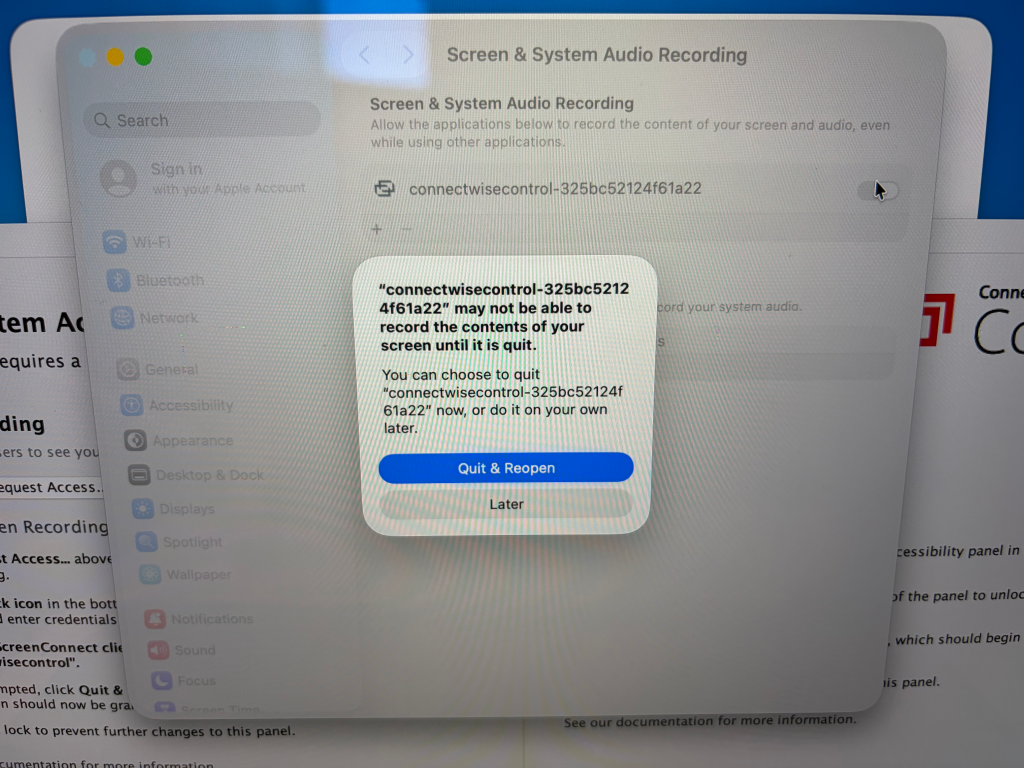
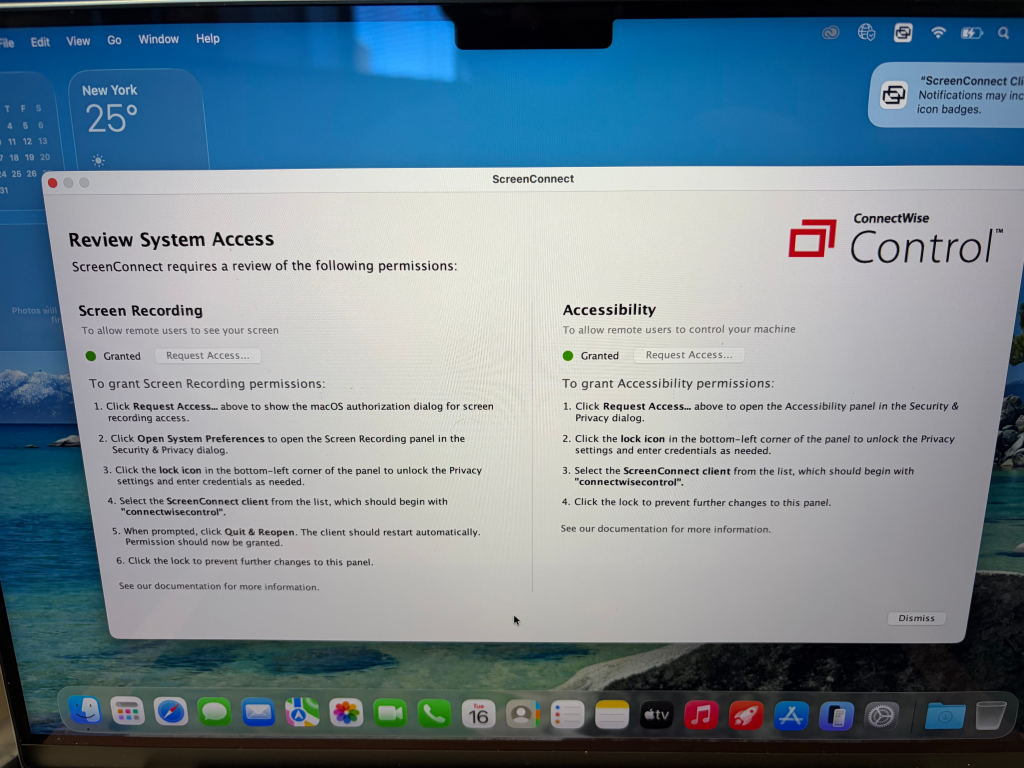
A window will appear for ConnectWise Control ScreenConnect. This software is what IT uses to be able to remote into your PC if you are having an issue. Click on Request Access… for Screen Recording
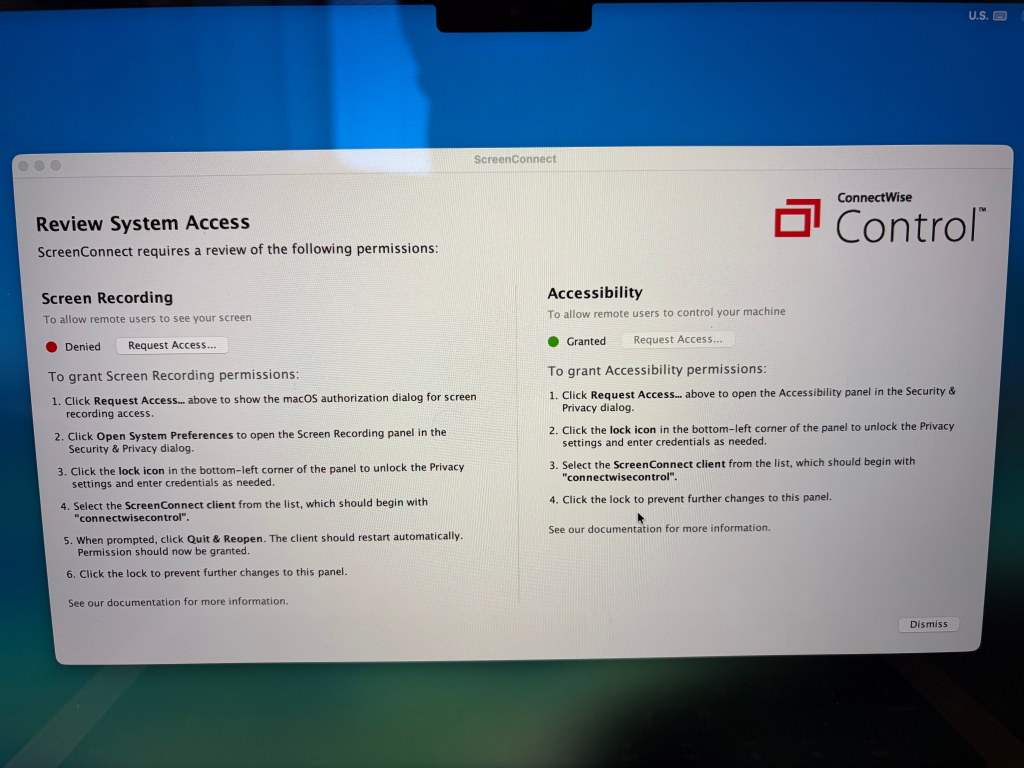
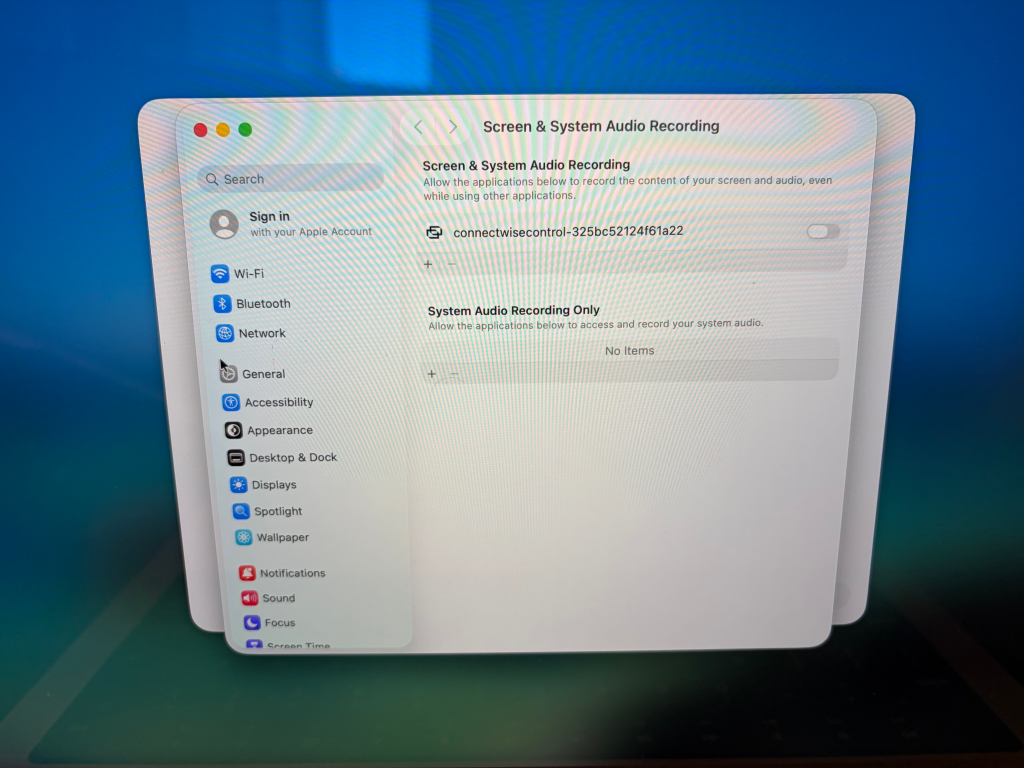
Another window will appear. Note: If you do not see it, move the ScreenConnect System Access Window to the side as it may of opened in the background. Select the toggle for connectwisecontrol.
Click on Quit & Reopen
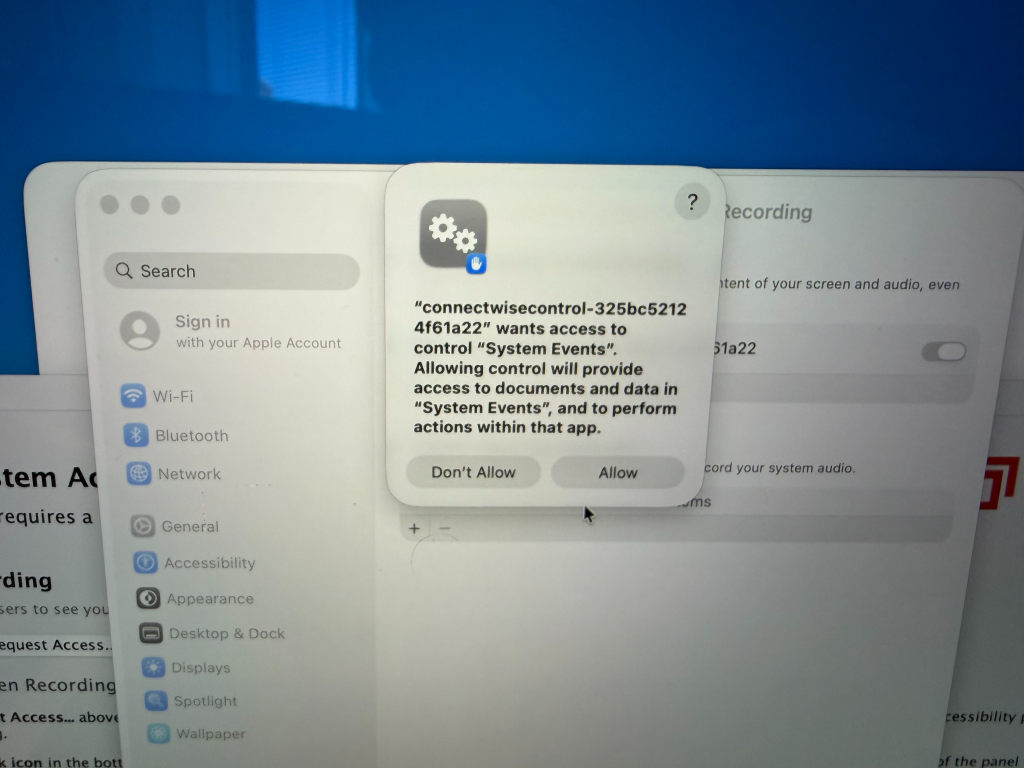
Click Allow
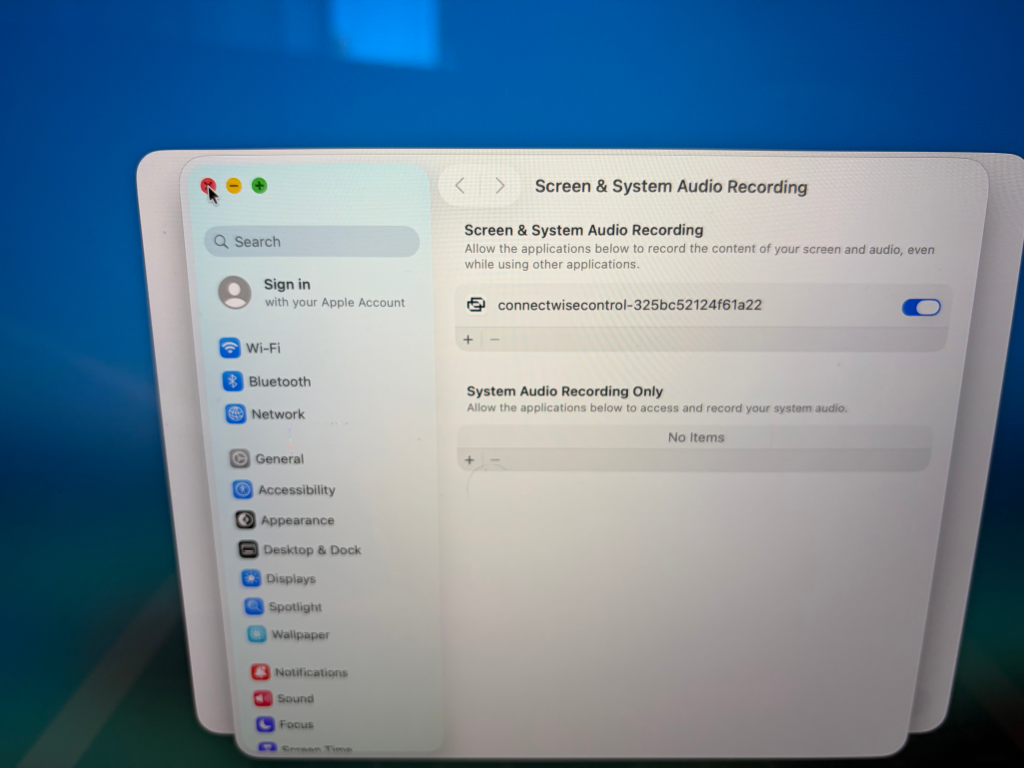
Go ahead and close the window
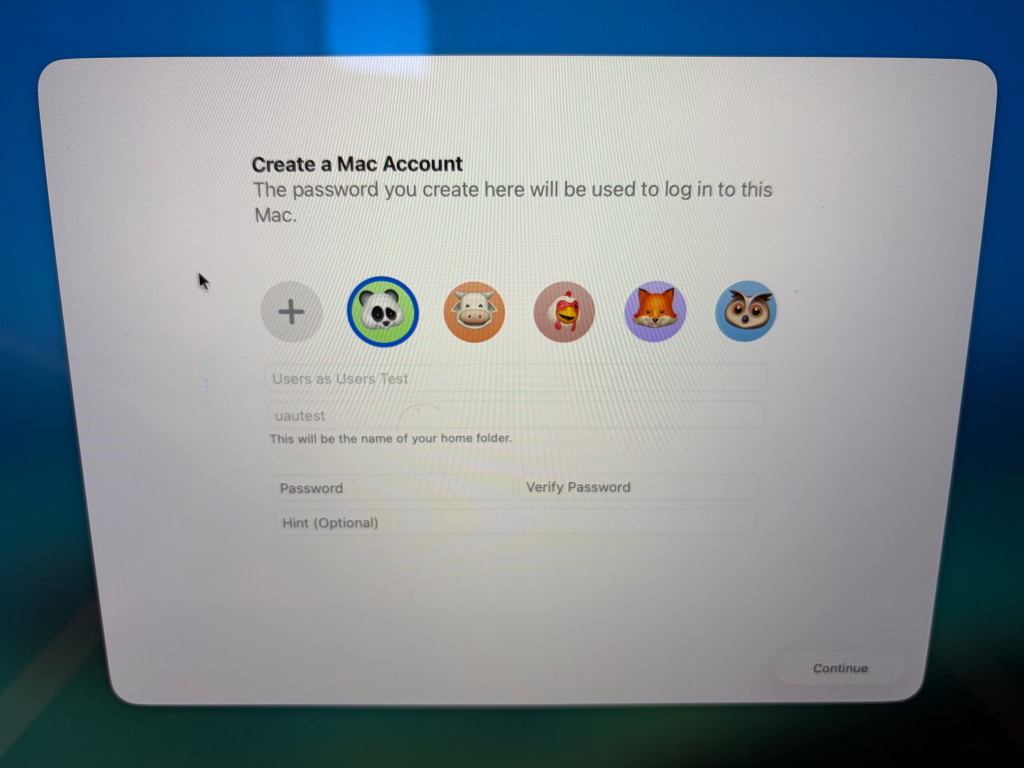
You’ll be asked to create a password for your Macbook. You are free to use the same password as your corporate email or if you would like to use a different password, that is fine as well and click on Continue.
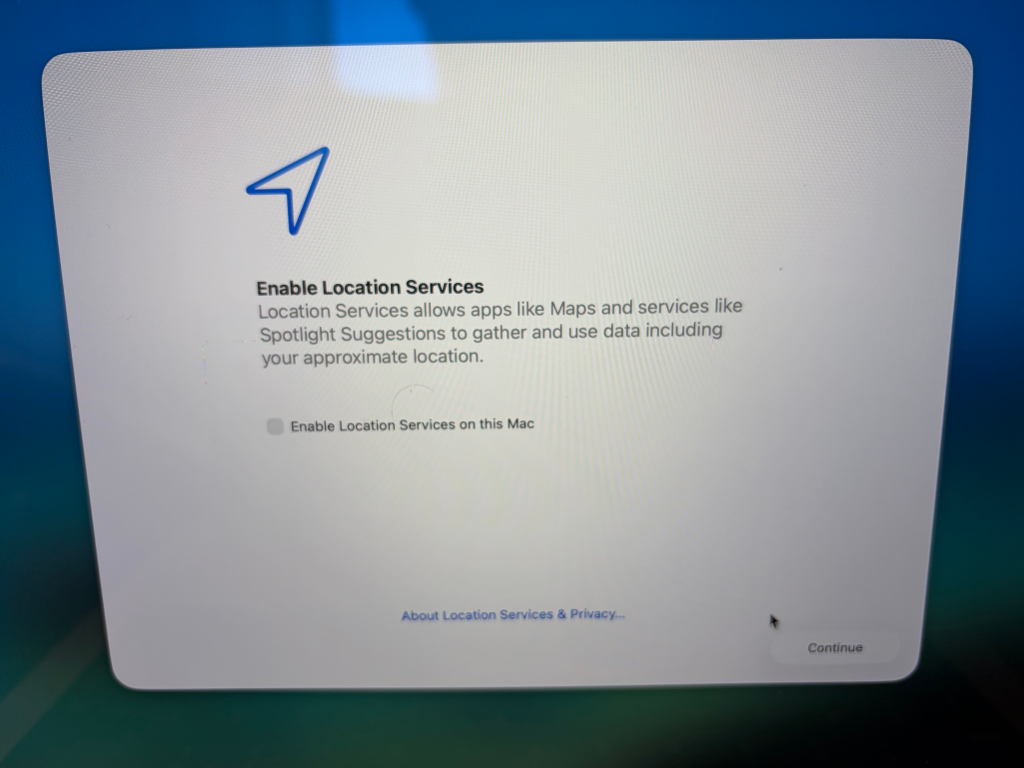
Click the checkbox on Enable Location Services and click Continue. This is used for setting your time zone, using Map websites and map applications.
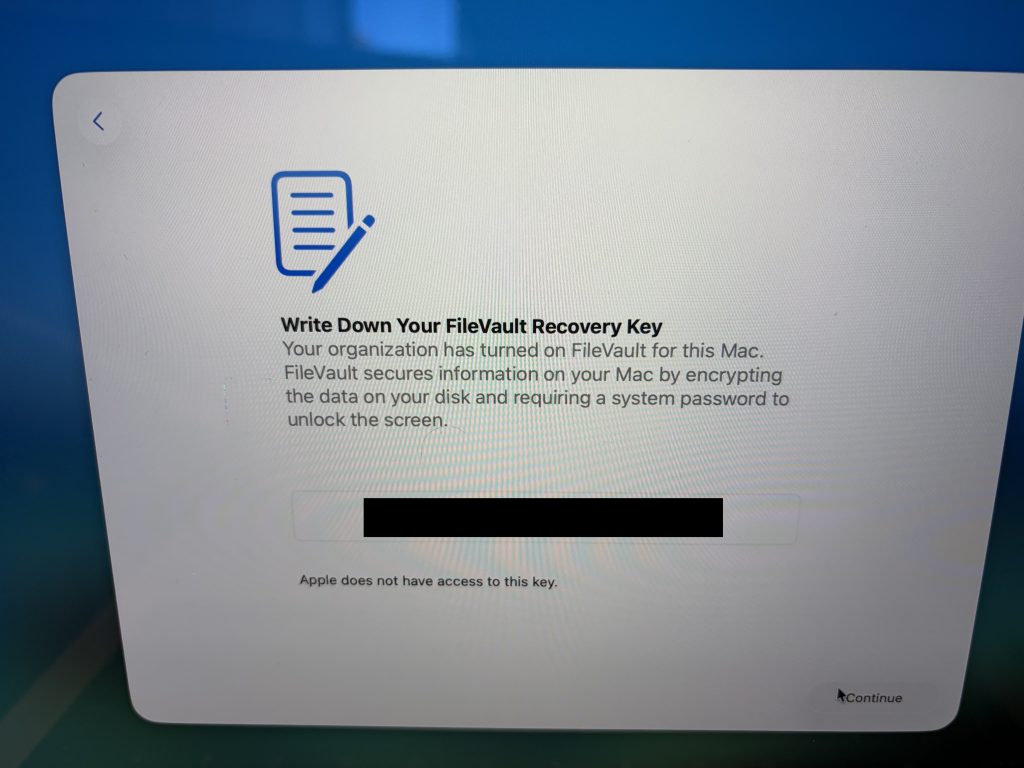
If you would like to, write down the FileVault Recovery Key. This is used in case your laptop crashes. However, if you lose the key, IT is able to get the key and provide it to you. Click Continue
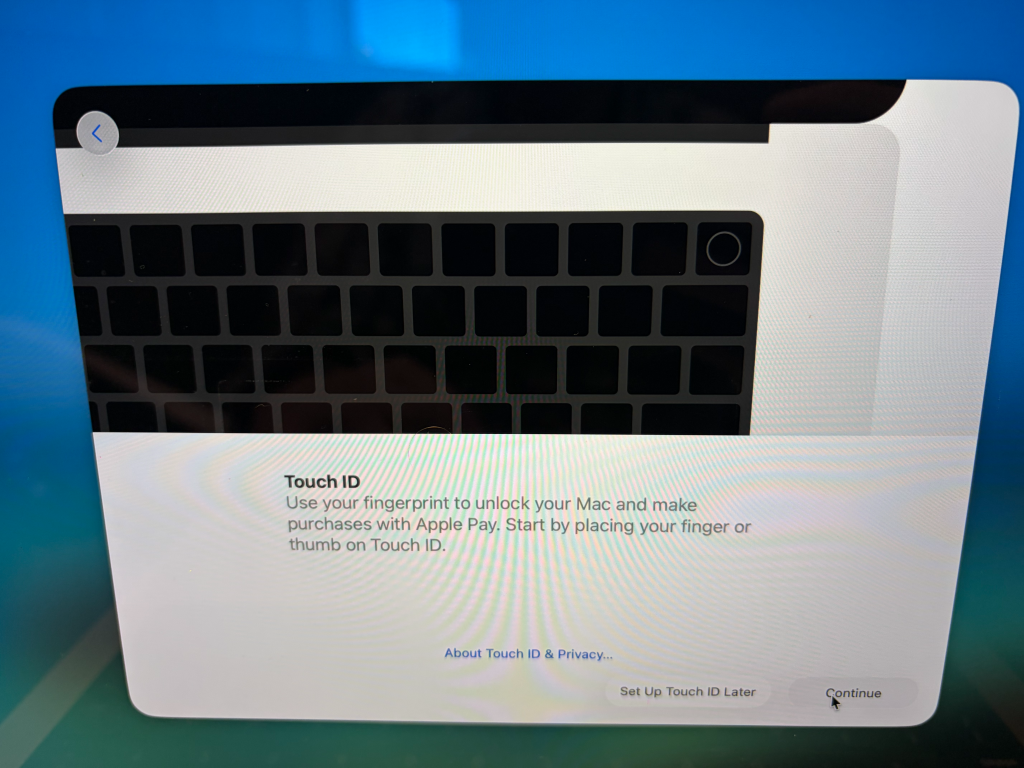
If you would like to setup Touch ID, do so here by clicking Continue. If you do not want to set it up, click Set Up Touch ID Later.
Click on Get Started

The ScreenConnect Window may reapper, if it does, go ahead and close it.
Once you get to desktop like the image below. Please hold off on using your Macbook. Right now it is downloading and installing applications from the internet in the background. This process can take 30 minutes to an hour depending on your internet speed.

You will know when it is completed when a message prompt appears on your Macbook saying Setup Complete.

IMPORTANT – ONEDRIVE SETUP AND INSTRUCTIONS
Before using your Macbook, go ahead and setup Onedrive. Onedrive is our cloud storage provider. It will back up all of your files in your Desktop, Documents, and Pictures folders. In a event where your device dies or gets lost, your files are recoverable.
To get Onedrive setup, follow these steps
Open the Onedrive app located on your dock

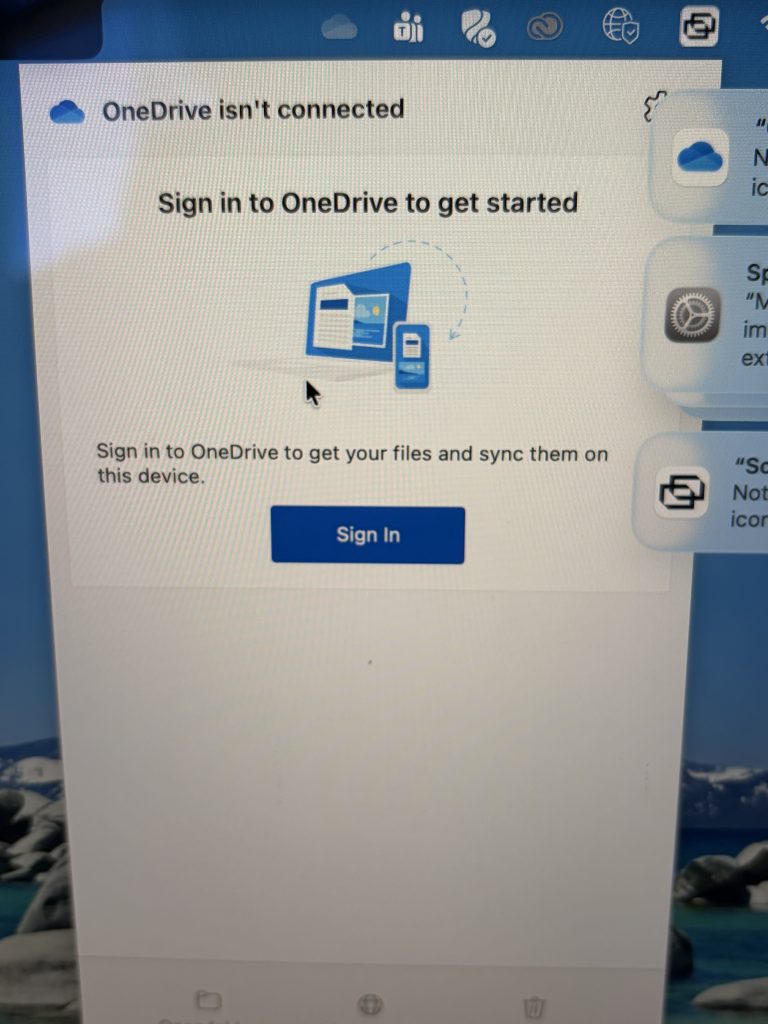
A window will appear, if it doesn’t click on the Onedrive icon in your title bar (on top of the screen)

Click Sign In
Enter your corporate email address and click Sign In, you’ll be asked to enter your password and perform 2FA.

Click Next
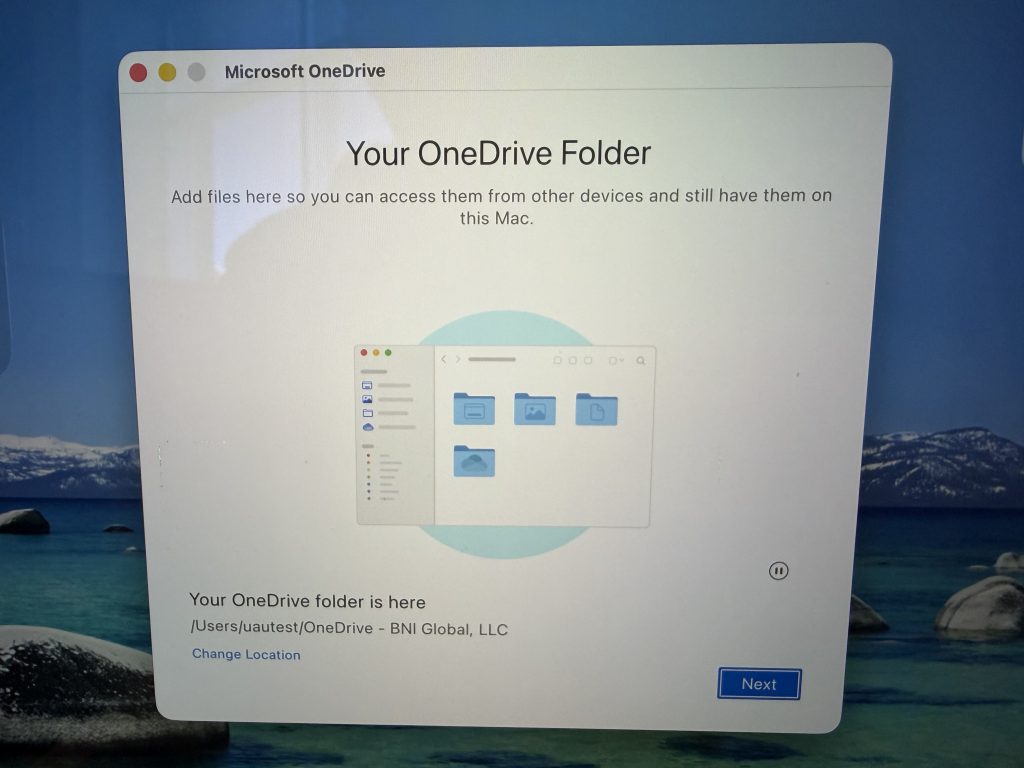
Click Next
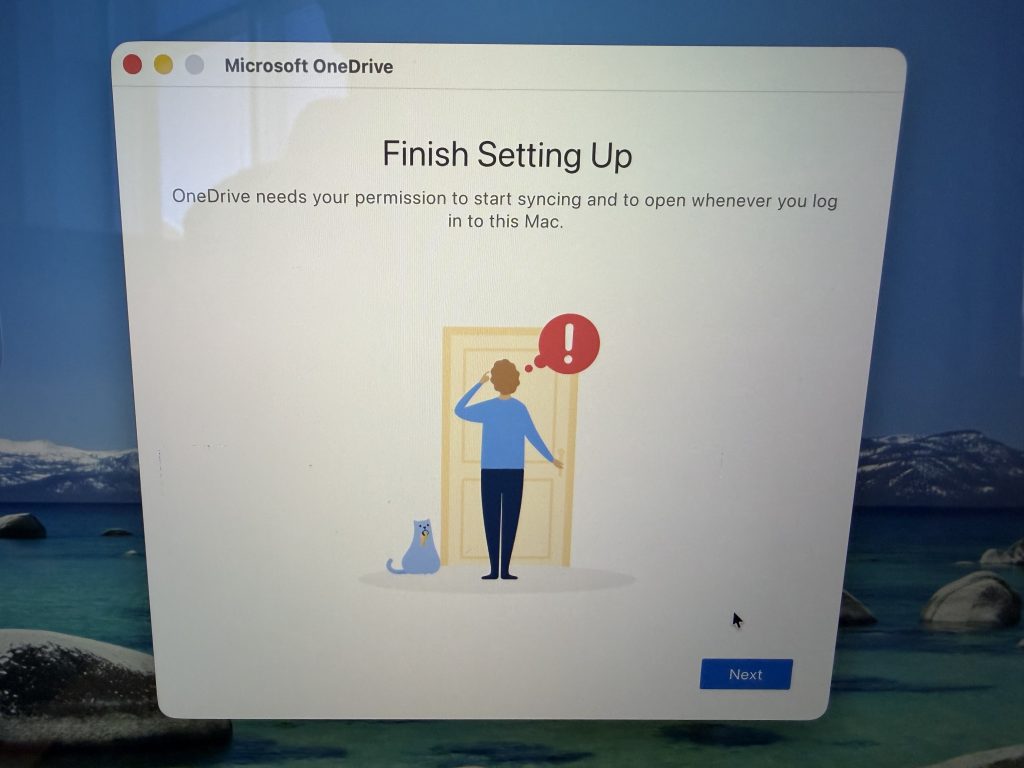
Click OK

Click Open OneDrive Folder.

You are all good to go. You have setup your Macbook and Onedrive. If you have an issue or questions on your Macbook, please send a email to itsupport@bni.com