Once you first turn on your PC, it will require you to complete some initial setup steps. We’ve
outlined the steps below to help you through the process. Each step outlines a screen that
should show to you after you first power on the laptop.
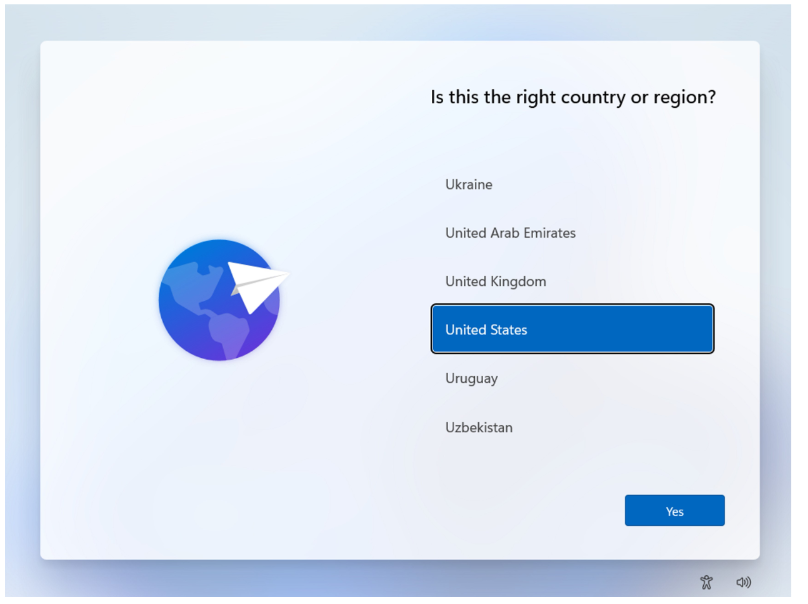
1.Find and select the region where your office is located, for example,
a)If you work in the United States, select, “United States”.
b)If you work in India, please select “India”.
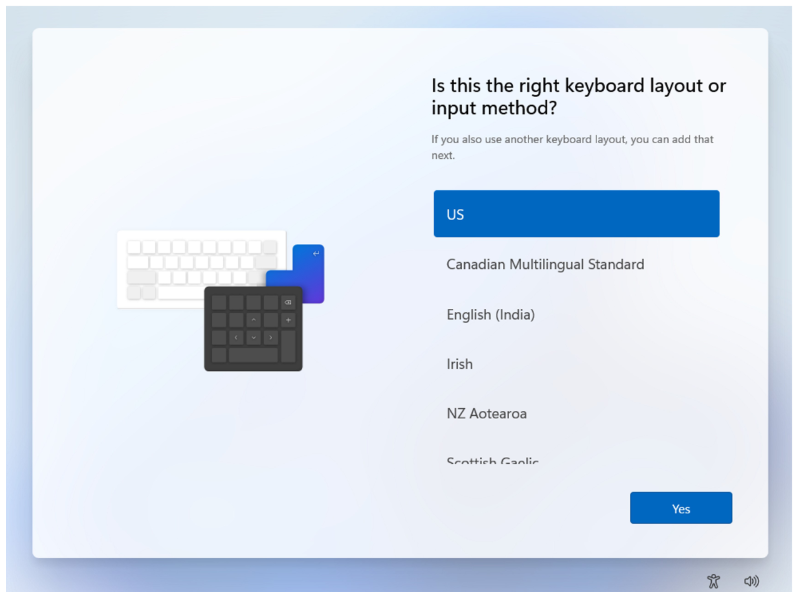
2)Select the keyboard layout that corresponds with your laptop’s keyboard. For example,
a)If you have a US based laptop, select, “US”
b)If you have a French laptop, select, “France”
c)If you have a UK laptop, select, “United Kingdom”
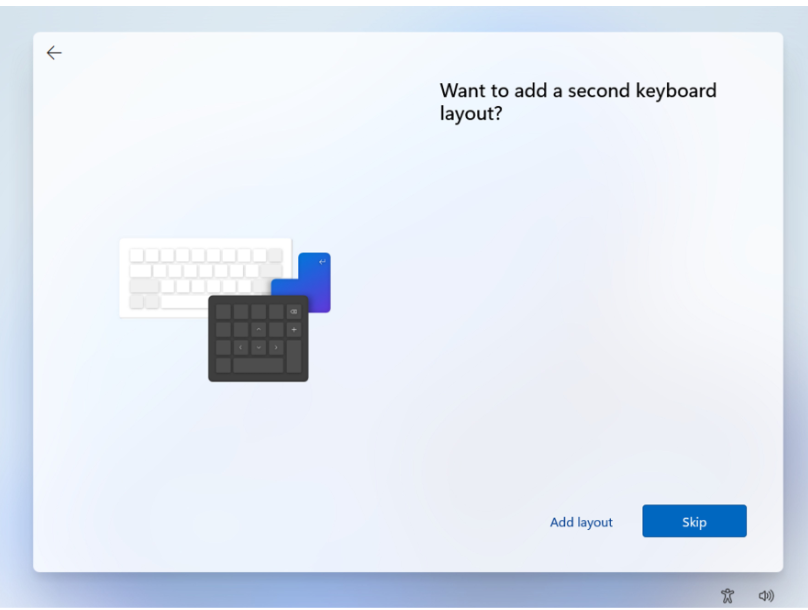
3) In some cases, users have a need to write in two languages, like English and French. Microsoft
allows you to add a secondary keyboard layout to support those situations.
a)In most cases, we advise you to click skip.
b)However, if you would like to add a second keyboard layout, click ‘Add Layout’ and choose
the keyboard layout that suits your need.
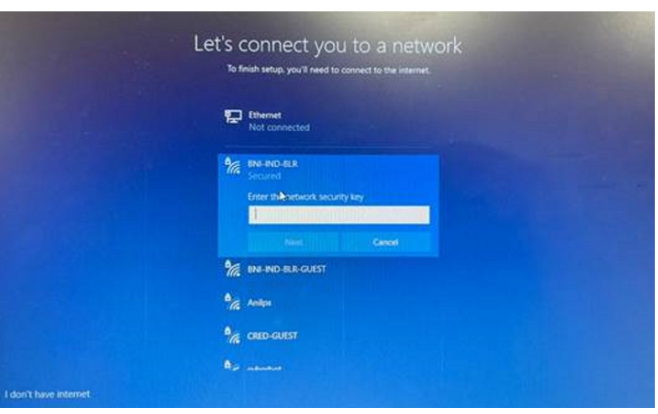
4)If you are not connected to a wired internet connection, Choose a secure Wi-Fi network to
connect to continue
a)Connecting via Ethernet (cable) is also an option
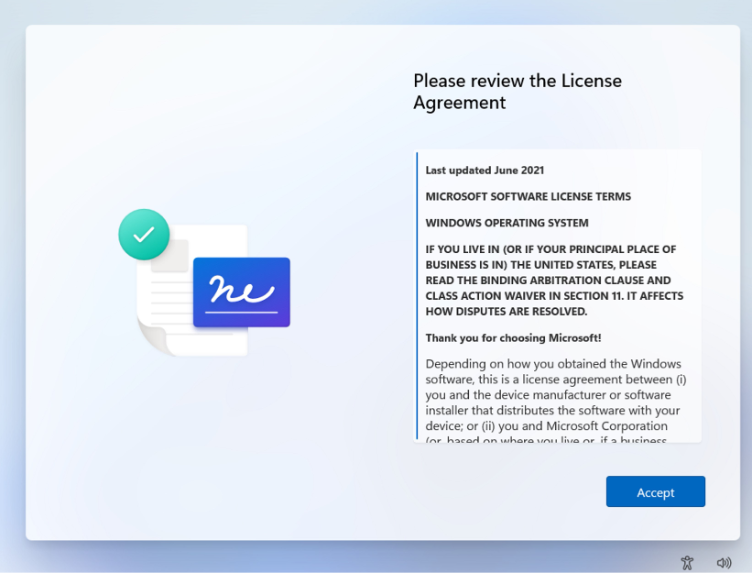
5)Accept the License Agreement.
6) Enter your email address in field and click, ‘Next’
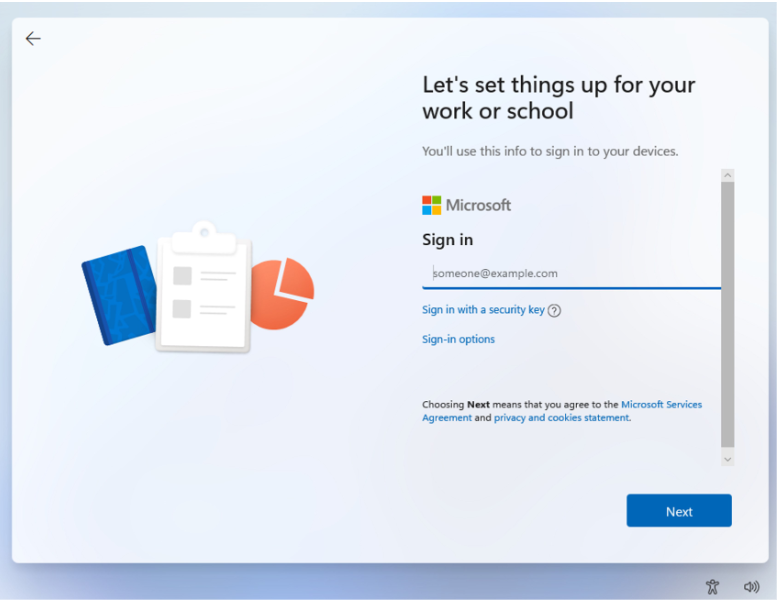
7)Enter your password for the account,
a) IF, you are a new employee,
i) You will have received an email from BNI IT that contains your username and password.It was likely sent in an encrypted email.
b)IF, you are an existing employee,
i)The username and password that you will use will not have changed. Please count on using that username and password.
ii) Your username is your email address.
c) If you don’t remember your password, please go to https://portal.office.com to
the password self-service reset options, or send a request to,
itsupport@bni.com (we will encourage you to use the password self-service)

8) If you are NOT a new employee, skip past the next step.
9) If, you are a new employee,
i) Once signed in, you may be required to configure Multi-Factor Authentication You will have to confirm how you would prefer to receive authorization codes.
ii)Options available for receiving a code include, SMS code, phone call,
authenticator application, and email code to a personal email address
Multi-Factor Microsoft Authenticator Steps
i) Download Microsoft Authenticator to your mobile device from Apple App Store or Google Play Store.
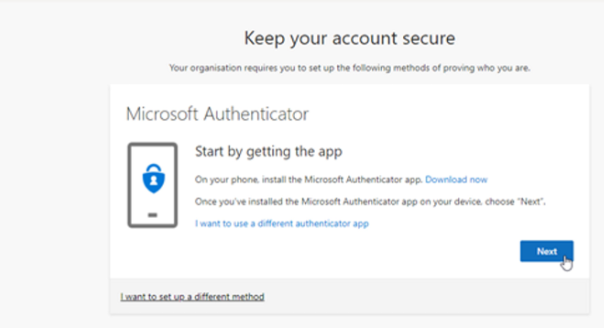
ii) Click ‘Next’ and a QR code will be shown on the screen. From the mobile app, scan the QR code to synchronize your account and mobile device.
SMS (Text Message) or Phone Call Authorization
a) If you choose SMS, you will need to specify your country code and mobile phone number. You can additionally select to receive a code via SMS (text message) or a phone call. Microsoft will send you a code or phone you with a code. Please type that in the available box and authorize your phone to the account.
ii) Password self-service Requires setting up security questions, use of an external email address, and phone number capable of receiving SMS messages or phone capable of
receiving a phone call.
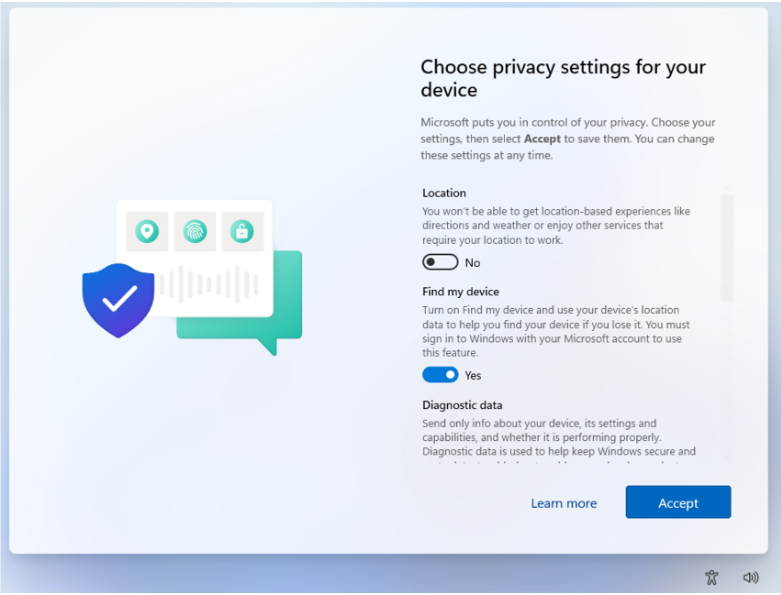
10) Choose the following options for privacy settings
a) Say “NO” to all privacy settings EXCEPT for “Find My Device and then Accept.
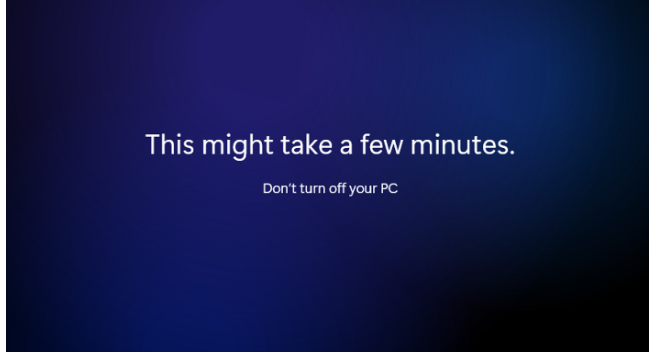
11)your device will complete the setup for your use,
This process can take some time and requires that you maintain the device on a power
source as well as maintaining your patience
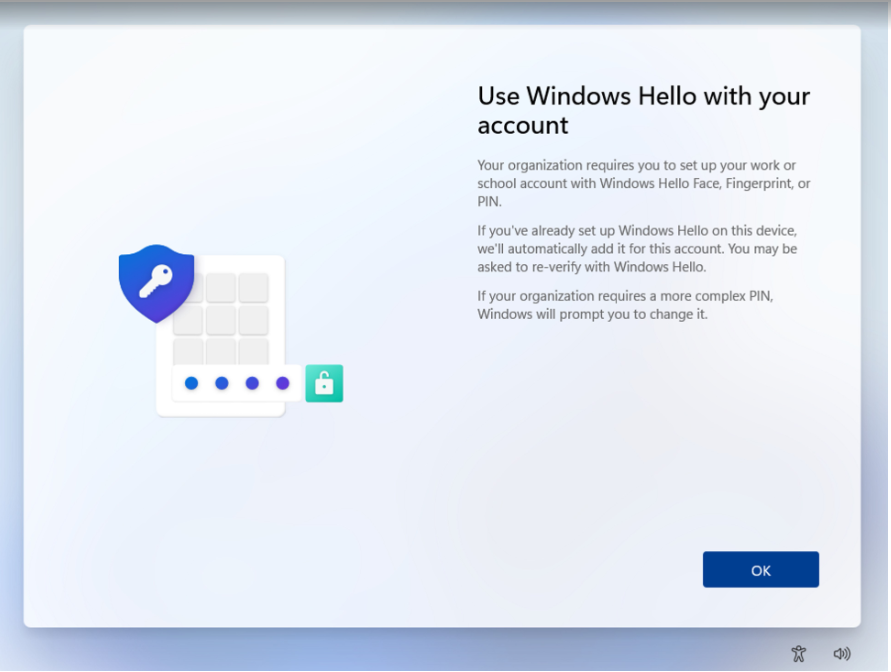
12) Click ‘OK’ on the Windows Hello notification after having read the information presented.
13) Approve your sign-in using the enrolled multi-factor authentication method.
Thank you !
BNI IT Team